Bringing a new industrial robot online is a milestone for any facility. Proper commissioning is the critical process that transforms a collection of high-tech components into a productive, reliable, and safe automated system. It’s more than just flipping a switch; it’s a methodical sequence of installation, configuration, and testing that lays the foundation for years of successful operation. This guide will walk you through the fundamental phases of commissioning a single robot workcell.
Phase 1: Pre-Commissioning and Hardware Installation
Before powering anything on, meticulous physical setup is paramount. A flawed installation can lead to performance issues and safety hazards down the line.
Safety First: Begin by ensuring all energy sources (electrical, pneumatic, hydraulic) are de-energized and locked out/tagged out (LOTO). Verify that the robot's mounting surface is level, secure, and meets the manufacturer's specifications for load and vibration.
Mechanical Setup:
- Robot Mounting: Securely bolt the robot manipulator to its pedestal or base.
- End-of-Arm Tooling (EOAT): Attach the gripper, welder, or other tool to the robot's wrist flange.
- Peripheral Equipment: Install conveyors, part fixtures, safety fencing, and any other physical elements of the workcell.
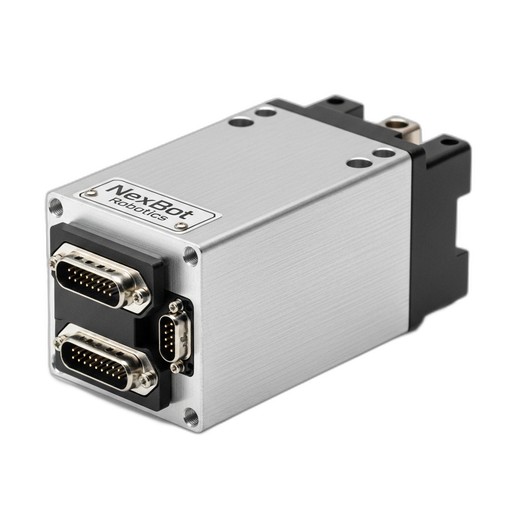
Electrical Installation: Inside the control cabinet, you'll install core components. This is where a high-performance servo drive like the NexBot Robotics SD131-004 Single-Axis Servo Drive comes into play. When installing this component, ensure you follow best practices:
- Mounting: Secure the drive to the DIN rail or backplane, ensuring adequate ventilation.
- Power: Connect the 480VAC 3-phase input power. Proper grounding is non-negotiable for safety and signal integrity.
- Motor & Encoder: Connect the motor power and encoder feedback cables from the corresponding robot axis.
- Networking: Connect the EtherCAT communication cables. The high-speed, deterministic nature of EtherCAT is crucial for the precise, synchronized motion control required in modern robotics.
Phase 2: System Power-Up and Initial Configuration
With the hardware in place, it’s time for the first power-up. This should be a deliberate, step-by-step process.
- Connect Peripherals: The primary interface for interacting with the robot is the teach pendant. Connect the NexBot Robotics 222-004 Teach Pendant to its port on the controller. Its robust, IP65-rated design is built for the shop floor, and its large 10.1-inch touchscreen provides a clear and intuitive window into the robot's brain.
- Initial Power-On: Disengage the main E-stop and power on the control cabinet. The system will boot up, and the teach pendant's screen will come to life, displaying the controller's software interface.
- Establish Communication: Follow the on-screen prompts to establish a connection between the pendant and the controller. The first task is often to check the system diagnostics to ensure all components, including the servo drives on the EtherCAT network, are recognized and error-free.
- Set User Levels: Configure user accounts and access levels. This ensures that only trained personnel can make critical changes to programs or system parameters.
Phase 3: Mastering the Axes and Manual Movement
Before the robot can run a program, it needs to know its own position. This process is called mastering or homing.
Jogging the Robot: Using the teach pendant, you will perform your first manual movements, known as jogging. The NexBot 222-004 Teach Pendant provides dedicated enabling switches and a joystick for safe, controlled motion. Familiarize yourself with the different coordinate systems:
- Joint Mode: Moves one individual robot axis at a time.
- World Frame: Moves the tool in a straight line relative to a fixed point in the workcell.
- Tool Frame: Moves the tool relative to its own orientation, which is essential for tasks like welding or dispensing.
Axis Mastering: Mastering is the process of establishing a precise, known home position for every axis. The teach pendant will guide you through moving each joint to its physical reference mark. The controller records the encoder values from the servo drives at these positions. Accurate mastering is fundamental for program accuracy and repeatability. Any time a motor or drive is replaced, the robot will need to be re-mastered.
Phase 4: Basic Programming and I/O Checks
Now you can teach the robot its first task. Modern teach pendants have made this process more graphical and intuitive than ever.
- Define a Tool Center Point (TCP): Use a wizard on the teach pendant to define the exact point of action for your EOAT. For a gripper, this might be the center point between the fingers.
- Create a Simple Program: Create a new program and record a few points by moving the robot to the desired positions and saving them. For example, create a simple pick-and-place routine: Move above a part, move down to the part, close the gripper, move up, move over a drop-off point, move down, open the gripper, and move back up.
- Test I/O: Manually trigger the outputs that control the gripper and verify that it actuates correctly. Similarly, test the inputs by activating sensors and confirming their status changes on the teach pendant's I/O screen. This confirms the robot can interact with its environment.
Phase 5: Optimization and Validation
With a basic program running, the final phase involves refining performance and verifying all safety systems.
Performance Tuning: Run the program in a slow-speed test mode. Check for smooth motion and path accuracy. If you notice any overshoot or vibration, you may need to adjust the tuning parameters for the servo drives. This ensures the robot moves as quickly and accurately as possible without unnecessary mechanical stress.
Safety Validation: This is the most important step. Systematically test every single safety feature:
- Press every E-stop button to ensure it immediately halts robot motion.
- Break the beam of light curtains or open safety gates to verify they trigger a safe stop.
- Confirm that switching from automatic to manual mode prevents the program from running.
Once validated, run the workcell through many cycles to check for consistency and reliability before handing it over to production.
When to Call the Experts: The Value of Professional Commissioning
While this guide covers the fundamentals, real-world integrations can be complex. Integrating with PLCs, vision systems, or complex tooling requires deep expertise. For a guaranteed successful startup, especially for mission-critical applications, leveraging a professional service is often the most efficient and reliable path.
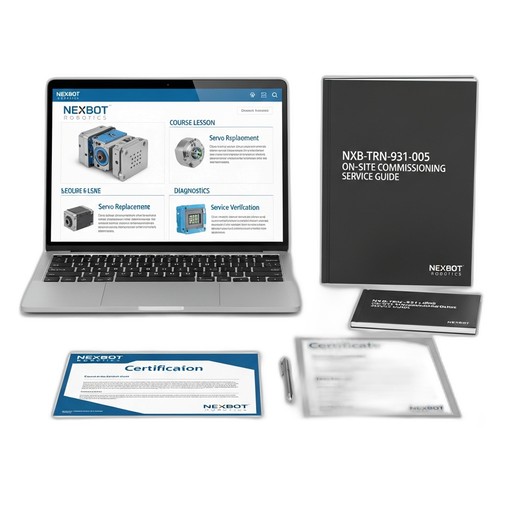
The NexBot Robotics NXB-TRN-931-005 On-Site Commissioning Service provides a factory-trained expert to manage this entire process for you. Our technicians ensure your workcell is set up not just to function, but to perform optimally. They handle complex network integration, advanced servo tuning, and rigorous performance validation, ensuring your system meets its projected cycle times and quality targets from day one. This service de-risks your investment and accelerates your time to production.