Introduction: Setting the Foundation for Automation Success
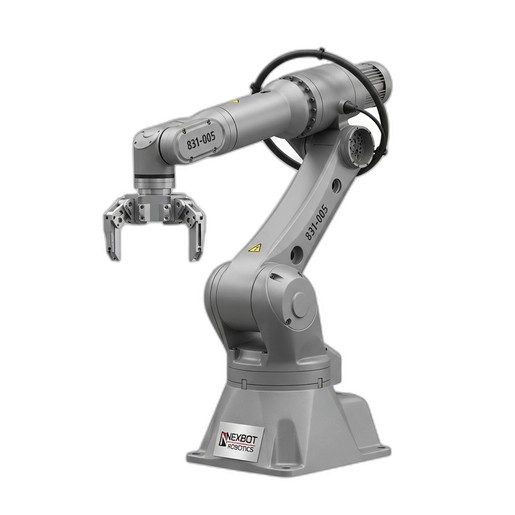
Integrating an industrial robot into your production line is a significant step towards enhancing productivity, precision, and safety. The success of this integration begins with a meticulous installation process. A proper setup not only ensures the robot operates at peak performance but also maximizes its operational lifespan and minimizes downtime. This guide provides a practical, step-by-step walkthrough for installing and commissioning a versatile workhorse like the NexBot Robotics 831-005 6-Axis Robot Arm.
While this guide offers a comprehensive overview, it is essential to always consult the official user manual for detailed specifications, safety warnings, and model-specific instructions. Safety should be the paramount concern throughout every stage of the installation process.
Pre-Installation: Planning and Preparation
Before the robot arrives, thorough preparation of the installation site is crucial. A well-planned workspace prevents costly delays and ensures a safe environment for both personnel and equipment.
1. Site Assessment & Foundation:
- Structural Integrity: The mounting surface must be perfectly level, rigid, and capable of handling the robot's weight plus its maximum payload (25 kg for the NXB-ROB-831-005), as well as the dynamic forces generated during high-speed movements.
A reinforced concrete floor is the industry standard.
- Clearance: Ensure there is adequate space around the robot to accommodate its full range of motion, including its 1650 mm reach. Map out the work envelope and establish safety zones, considering cable management and access for maintenance.
2. Utility Requirements:
- Power: The NXB-ROB-831-005 requires a 400-480VAC three-phase power supply. Verify that a dedicated, properly grounded circuit with the correct voltage and amperage is available at the installation point. Use of an industrial-grade disconnect is mandatory.
- Network: This robot communicates via PROFINET. Ensure your plant network has an available port and that the necessary cabling is routed to the robot controller's location.
- Compressed Air: While not required by the robot arm itself, many end-effectors do. Plan for air lines if your chosen End-of-Arm Tooling (EOAT) requires pneumatic power.
Step 1: Mechanical Mounting
With the site prepared, the first physical step is to securely mount the robot base.
- Positioning: Carefully lift and position the robot onto its designated mounting location using certified lifting equipment. Never lift the robot by its arms or joints.
- Fastening: Use high-tensile, robot-grade bolts to anchor the robot base to the foundation. Refer to the manual for the specific bolt size, grade, and torque specifications. An incorrect torque value can lead to vibration and positioning errors over time. Ensure the base is perfectly level before the final torque is applied.
Step 2: Electrical and Communication Connections
Warning: All electrical work should be performed by a qualified electrician in accordance with local codes and regulations. Ensure the main power is locked out and tagged out before beginning.
- Main Power: Connect the main power cable from the disconnect to the robot controller. Double-check that the phasing is correct.
- Controller to Robot: Connect the heavy-duty cables for power and data between the controller and the robot arm base. These cables are specifically designed to handle the rigors of robotic motion.
- PROFINET Connection: Plug the network cable into the designated PROFINET port on the controller to establish communication with your PLC or master control system.
Step 3: Integrating End-of-Arm Tooling (EOAT)
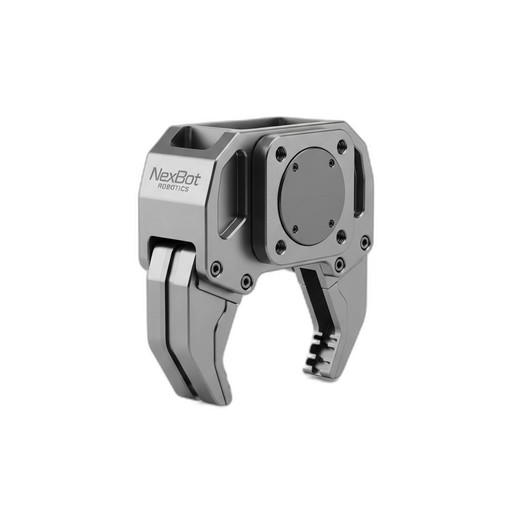
An industrial robot is only as effective as the tool it wields. For this guide, we'll use the NexBot Drives MAG414-006 Magnetic Gripper as an example.
- Mechanical Fitment: Mount the MAG414-006 gripper to the robot's wrist flange (Axis 6). Ensure the mounting pattern aligns and use the correct fasteners, torqued to specification.
- Electrical Connection: The MAG414-006 operates on 24VDC and uses IO-Link for communication. Route the gripper's cable along the robot arm, using the provided mounting points to prevent snagging or excessive flexing during operation. Connect the power and communication lines to the designated user I/O ports, typically located near the robot's upper arm or wrist.
- Configuration: In the robot's control software, you will need to configure the IO-Link master to communicate with the gripper. You will also define the Tool Center Point (TCP)—the precise point on the gripper that will interact with the part. An accurate TCP is critical for programming precise movements.
Step 4: System Power-Up and Calibration
Once all physical connections are verified, it's time for the initial power-up.
- Safety First: Clear the robot's work envelope of all personnel and tools. Ensure all emergency stops are accessible.
- Power On: Disengage the lock-out/tag-out and turn on the main power disconnect, followed by the robot controller.
- Homing: The system will likely require a homing or mastering procedure. This process moves each joint to a known reference position, allowing the controller to accurately track the robot's position in space. Follow the on-screen prompts on the teach pendant.
Step 5: First Moves and Baseline Maintenance Check
With the robot homed, you can now perform initial movements in a slow, controlled manual mode using the teach pendant. Verify that all axes move freely and in the expected direction.
This is also the perfect time to establish a maintenance baseline. While your new robot arrives lubricated from the factory, it's crucial to plan for its long-term care. The high-speed, repetitive motions of an industrial robot place immense stress on its joints and gearboxes. Proper lubrication is the single most important factor in ensuring a long service life.
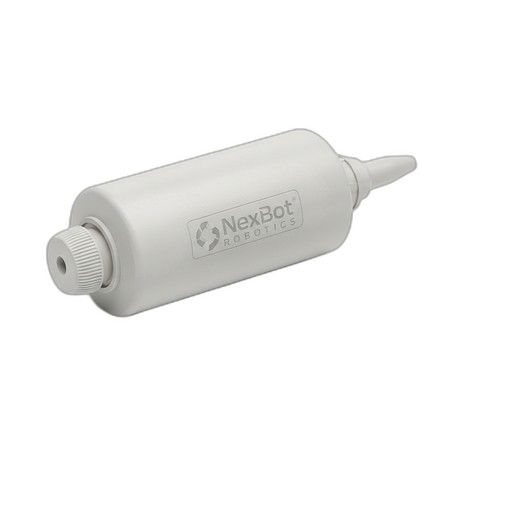
For future maintenance, it is critical to use a grease that meets the manufacturer's exact specifications. The NexBot Robotics 731-004 Joint Grease Cartridge is specifically formulated for this purpose. Using an incorrect lubricant can lead to premature wear, overheating, and catastrophic failure. Schedule your first lubrication service according to the manual's recommended operating hours, and keep a log of all maintenance activities.
Conclusion: Ready for Production
By following these steps—from meticulous site preparation to careful EOAT integration and establishing a maintenance plan—you have set the stage for your NexBot 831-005 robot arm to become a reliable and productive part of your operations. With the robot now safely installed and commissioned, you are ready to begin programming and integrating it into your automated workflow, confident that its foundation is solid and its long-term health is planned for.