Industrial robots are paragons of precision and repeatability, and at the heart of their fluid, accurate motion lies the harmonic gearbox. This compact, high-ratio drive system is critical for controlling joint articulation with minimal backlash. However, like any high-performance mechanical component, it is subject to wear over its operational life. Proactively replacing a gearbox is a key preventive maintenance task that prevents costly unplanned downtime and maintains production quality.
This guide provides a step-by-step overview of the replacement process. While these steps are generally applicable, you must always consult the specific service manual for your robot model before beginning any maintenance procedure. Safety is paramount.
Step 1: Safety and Preparation
Before you touch a single tool, ensuring a safe work environment is non-negotiable. The first and most critical action is to perform a full Lockout/Tagout (LOTO) procedure on the robot controller and any related machinery. This isolates the robot from all energy sources—electrical, pneumatic, and hydraulic—preventing accidental startup.
Next, gather your Personal Protective Equipment (PPE), which should include safety glasses, steel-toed boots, and appropriate gloves. Ensure the work area is clean, well-lit, and free of obstructions. Finally, consult the robot's OEM service manual. This document contains the exact torque specifications, disassembly order, and safety warnings specific to your machine.
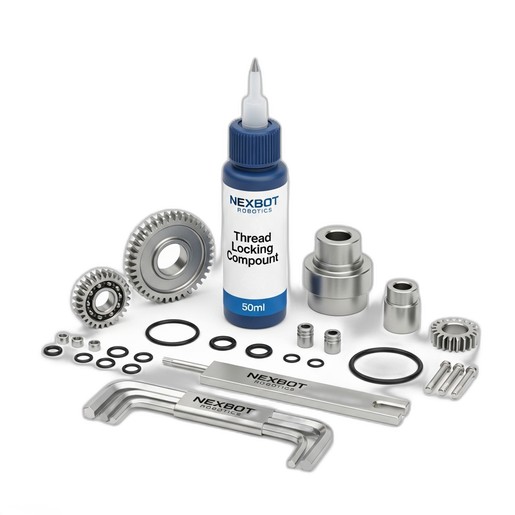
Step 2: Assemble Your Tools and Components
Having the right parts and tools on hand before you begin streamlines the process and prevents errors. A typical gearbox replacement requires:
- A complete set of metric hex keys and socket wrenches.
- A calibrated torque wrench: This is essential for achieving the correct bolt tension during reassembly.
- Lifting straps or an engine hoist: Depending on the robot's size, you may need mechanical assistance to support the arm during the procedure.
- Cleaning supplies: Lint-free cloths and a suitable solvent for cleaning mounting surfaces.
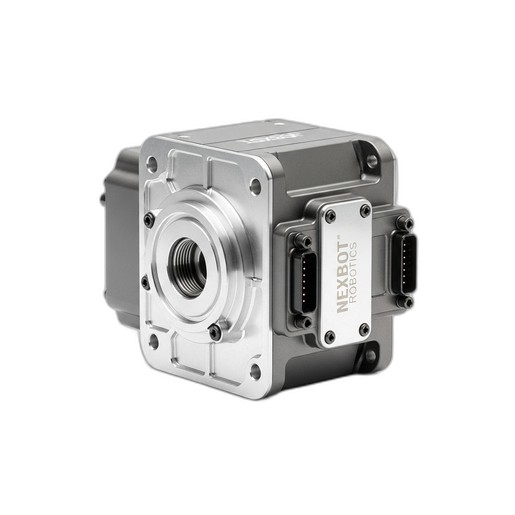
- The replacement gearbox: For this procedure, we will be using the NexBot Harmonic Gearbox HR-30 (NXB-GBX-HRM-030), a component designed for precise fit and long service life.
- Thread locking compound: To prevent bolts from loosening due to vibration, a high-quality anaerobic adhesive is crucial. We recommend the NexBot Thread Locking Compound, 50ml (NXB-CON-TLC-050).
Step 3: Removing the Worn Gearbox
With the robot safely powered down and locked out, you can begin the disassembly process.
- Position the Arm: If possible, move the robot arm to a position that provides the easiest access to the target joint's gearbox. This is often a folded or 'home' position, which may need to be done before powering down.
- Support the Load: Securely support the robot arm section that will be freed when the gearbox is removed. Use certified lifting straps or blocking to prevent the arm from falling, which could cause injury or damage.
- Disconnect Services: Carefully disconnect any electrical cables, sensor wires, or pneumatic lines attached to the motor and gearbox assembly. Label each connection clearly to ensure correct reassembly.
- Remove the Motor: In most designs, you must first unbolt and remove the servo motor from the gearbox. Be careful not to damage the motor shaft or encoder during removal.
- Unbolt the Gearbox: Systematically loosen and remove the mounting bolts that secure the old gearbox to the robot's structural linkage. Keep track of bolt lengths, as they can vary. Once all bolts are removed, carefully extract the old gearbox from its housing.
Step 4: Installing the New NexBot Harmonic Gearbox
Precision is key during installation to ensure the robot performs to its original specifications.
- Clean Mating Surfaces: Thoroughly clean the mounting surfaces on both the robot arm and the new NexBot Harmonic Gearbox HR-30. Remove any old sealant, grease, or debris. A clean, flat surface is critical for proper alignment and heat transfer.
- Align and Seat: Carefully position the new gearbox, ensuring any alignment dowels or markings are correctly oriented. Gently slide the gearbox into place. It should seat fully without requiring excessive force.
- Apply Thread Locking Compound: Apply a small amount of NexBot Thread Locking Compound (NXB-CON-TLC-050) to the threads of the clean mounting bolts. This compound cures in the absence of air, forming a tough polymer that locks the threads and prevents vibrational loosening, a common issue in high-cycle robotic applications.
- Torque the Bolts: Insert the bolts and tighten them in a star or crisscross pattern to ensure the gearbox is drawn down evenly. Use your calibrated torque wrench to tighten each bolt to the precise specification listed in the service manual. Over-tightening can damage the gearbox housing, while under-tightening can lead to failure.
- Reinstall the Motor: Re-attach the servo motor, ensuring the output shaft is correctly coupled with the gearbox input. Torque the motor mounting bolts to their specified values.
Step 5: Final Reassembly and System Verification
Once the new hardware is mechanically installed, you must verify its correct function.
- Reconnect Services: Reconnect all electrical, sensor, and pneumatic lines that were previously disconnected. Double-check your labels to ensure everything is in the right place.
- Power Up: Remove your LOTO devices and follow the standard procedure to power on the robot controller.
- Check for Errors: Watch the teach pendant for any error codes upon startup. Address any issues before proceeding.
- Perform Mastering/Calibration: A gearbox replacement will almost always alter the robot's zero position for that specific axis. You must perform the robot's mastering or zero-point calibration procedure as detailed by the manufacturer. This synchronizes the robot's physical position with the controller's digital understanding of it.
- Test Motion: Run the robot at a slow speed through its full range of motion for the repaired axis. Listen for any unusual noises and watch for jerky movements. If all seems well, run a test program to confirm its positioning accuracy and repeatability.
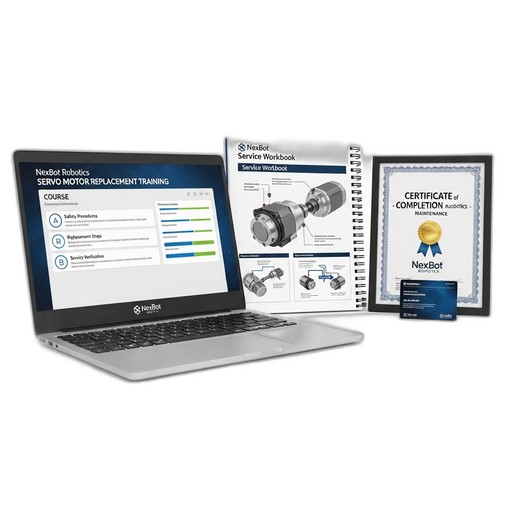
Empowering Your Team Through Training
While this guide provides a solid framework, nothing replaces hands-on experience in a controlled environment. Complex maintenance tasks like motor and gearbox replacements carry significant risks if performed incorrectly. Investing in professional training ensures your team can perform these tasks safely, efficiently, and correctly every time. Courses like the Servo Motor Replacement Online Training (NXB-TRN-SRV-ONL) establish a standardized workflow, covering everything from advanced diagnostics to safety protocols. Empowering technicians with certified knowledge reduces errors, minimizes downtime, and maximizes the lifespan of your critical automation assets.