Customizing apparel, accessories, and gear with fabric patches is a fun and creative way to express individuality, showcase interests, or add practical features such as safety elements. For beginners, navigating the world of fabric patches—ranging from intricate embroidered designs to durable PVC badges—can feel overwhelming. This guide will walk you through the essentials: understanding patch types, application methods, material characteristics, and tips for selecting and caring for your first patches.
What Are Fabric Patches?
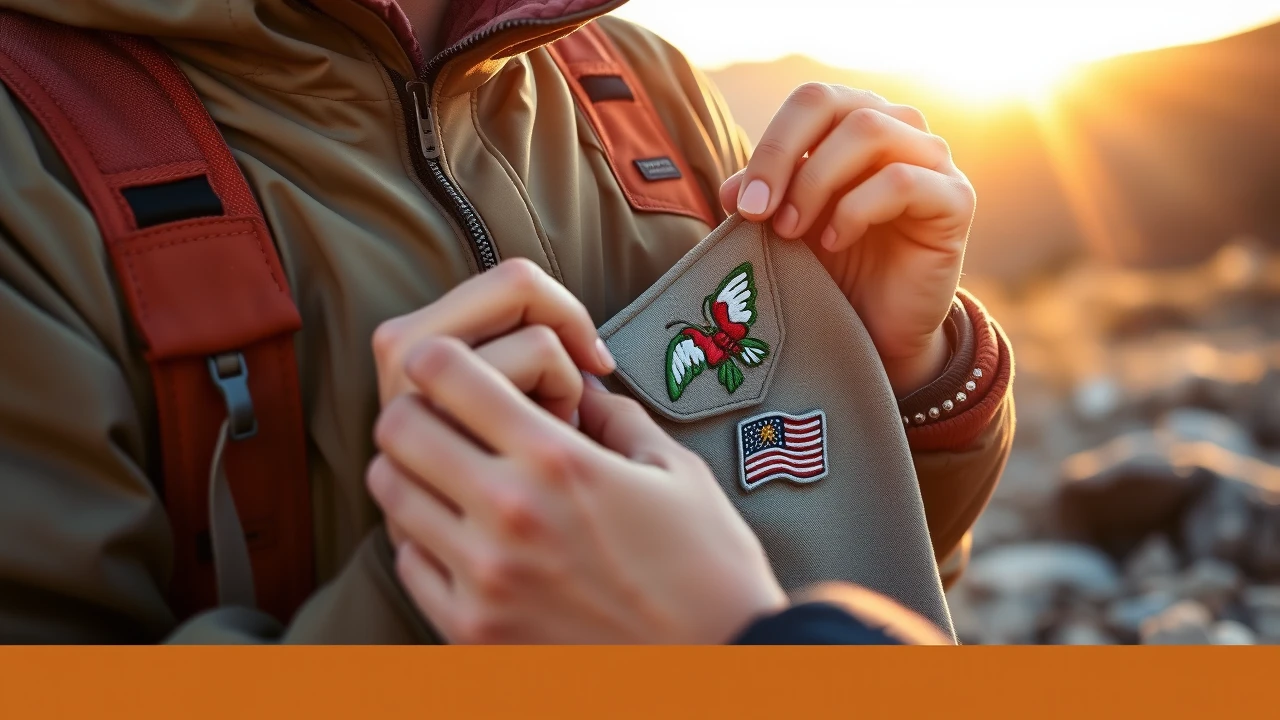
Fabric patches are decorative or functional pieces of fabric or synthetic materials that can be attached to clothing, bags, hats, outdoor gear, and more. They allow personalization through unique designs—such as vintage logos, inspirational quotes, tropical motifs, or reflective emblems—and can also enhance durability or safety.
These patches often feature a strong focus on outdoor usability, with characteristics like UV resistance, waterproof coatings, and scratch-proof finishes. Many are designed to endure active lifestyles, perfect for surfers, hikers, travelers, and children who want to add personality to their belongings.
Common Types of Fabric Patches and Their Materials
Embroidered Textile Patches
Made from tightly woven polyester or cotton threads, embroidered patches are classic favorites. Their raised stitching offers texture and intricate detail, ideal for logos, insignias, or artistic designs. These patches usually have a fabric backing that can be ironed or sewn onto items.
Key features:
- Durable and fade-resistant threadwork
- Often hypoallergenic and eco-friendly materials
- Can feature waterproof coatings for outdoor use
PVC and Rubber Patches
These patches are molded from soft, flexible rubber or PVC and often showcase vibrant colors and three-dimensional designs. Their waterproof nature and scratch resistance make them excellent for outdoor gear and sports apparel.
Key features:
- Waterproof and UV-resistant
- Easy to clean and maintain
- Ideal for rugged use on backpacks, jackets, or surf gear
Vinyl and Synthetic Fabric Patches
Vinyl patches blend flexibility with durability and often come with peel-and-stick backings for easy application. They may include reflective or glow-in-the-dark finishes, enhancing nighttime visibility—a big plus for outdoor enthusiasts.
Key features:
- Reflective or glow-in-the-dark coatings for safety
- Non-toxic adhesives and recyclable packaging
- Lightweight and portable for travel
Application Methods: Choosing What Works for You
Selecting the right application method depends on your crafting skills, the item you want to customize, and how permanent you want the patch to be.
Iron-On Patches
Probably the most beginner-friendly option, iron-on patches have a heat-activated adhesive backing. Simply placing the patch and applying heat with an iron seals it onto fabric.
Pros:
- Quick and easy with no sewing required
- Suitable for most cotton, polyester, and denim fabrics
- Ideal for flat surfaces like t-shirts or backpacks
Cons:
- Adhesive may weaken after repeated washing
- Not suitable for heat-sensitive materials or non-fabric items
Sew-On Patches
Sew-on patches provide the strongest, most durable attachment. Sewing by hand or machine ensures the patch stays firmly in place, even through heavy use and washing.
Pros:
- Long-lasting, secure hold
- Works on a wide range of fabrics and gear types
- Ideal for heavy-duty items like jackets, backpacks, or canvas surfboard bags
Cons:
- Requires basic sewing skills or tools
- More time-consuming than iron-on or peel-and-stick
Peel-and-Stick Patches
These use a pressure-sensitive adhesive backing, making them perfect for quick, no-heat applications.
Pros:
- Extremely easy to use and repositionable
- Great for kids’ items or temporary customization
- Usually eco-conscious with non-toxic adhesives
Cons:
- Less durable for long-term use or heavy washing
- May not adhere well to textured or curved surfaces
Velcro Patches
Velcro-backed patches attach to complementary Velcro strips sewn or glued onto gear. This method allows quick removal and swapping.
Pros:
- Perfect for collectors or frequent customizers
- Useful for tactical gear, backpacks, or travel items
- Durable and washable
Cons:
- Requires Velcro strips on the base item
- Slightly bulkier than other patch types
How to Choose Your First Fabric Patch
Consider Your Activity and Environment
If your lifestyle involves outdoor adventures—surfing, hiking, beach trips—look for patches with UV resistance, waterproof coatings, and scratch-proof finishes. PVC or rubber patches excel here for durability.
For casual wear or kids’ clothing, embroidered textile patches with iron-on or peel-and-stick options offer vibrant designs and easy application.
Think About Application Method and Skill Level
Beginners without sewing experience should start with iron-on or peel-and-stick patches for quick results. Sew-on patches, while more secure, require some stitching knowledge.
For items that need frequent patch changes or personalization—like backpacks or jackets—Velcro patches provide versatility.
Choose Eco-Friendly and Safe Materials
Many manufacturers now focus on sustainable production, using recyclable packaging, non-toxic adhesives, and hypoallergenic fabrics. These choices not only protect your health but also support environmental responsibility.
Match Patch Size and Design to Your Item
Small patches work great on hats, shoes, or surfboards, while larger patches can transform jackets or backpacks. Reflective or glow-in-the-dark patches add a safety feature for night-time use, particularly valuable for outdoor enthusiasts and kids.
Step-by-Step: Applying Your First Iron-On Patch
- Prepare the Surface: Ensure the fabric is clean, dry, and flat. Iron out wrinkles for even adhesion.
- Position the Patch: Place the patch where you want it, adhesive side down.
- Set Your Iron: Use the cotton or polyester setting; avoid steam.
- Apply Heat: Press the iron firmly on the patch for 30-45 seconds, applying even pressure.
- Let It Cool: Allow the patch to cool completely to set the adhesive.
- Check and Reinforce: For extra durability, consider sewing around the edges.
Caring for Your Fabric Patches
- Washing: Turn garments inside out and wash on gentle cycles to minimize wear.
- Avoid Harsh Chemicals: Skip bleach or strong detergents that can degrade adhesives or fabrics.
- Storage: Keep spare patches flat in their original packaging to prevent curling or damage.
- Repair: If edges start peeling, reinforce with stitching or fabric glue.
Creative Ideas for Beginners
- Personalize backpacks and hats with patches representing hobbies or travel memories.
- Create themed collections on surfboard bags using tropical or ocean-inspired designs.
- Customize kids’ jackets or lunch bags with colorful, peel-and-stick patches for easy swapping.
- Combine reflective patches with everyday wear to increase visibility on evening walks or bike rides.
The Growing Appeal of Fabric Patches
More than just decoration, fabric patches embody style, function, and sustainability. Whether you’re a traveler wanting to showcase destinations, a surfer adding personality to gear, or a parent encouraging creativity, patches offer an accessible entry point into arts and crafts personalization.
By understanding materials, application methods, and care, beginners can confidently choose patches that suit their lifestyle, aesthetics, and environmental values—making every item uniquely theirs.
Fabric patches open the door to endless creativity balanced with practicality. With this guide, you’re equipped to explore this versatile craft and start customizing your world the right way.