Folding kayaks offer an unmatched blend of portability and performance, making them a popular choice for boating enthusiasts who value convenience without sacrificing quality on the water. Whether you’re a weekend paddler or an adventurer who frequently travels to remote waterways, mastering the assembly and disassembly process of your folding kayak is essential. This guide breaks down the steps clearly and efficiently, helping you get on the water faster and pack up with ease when your outing ends.
Understanding Your Folding Kayak Components
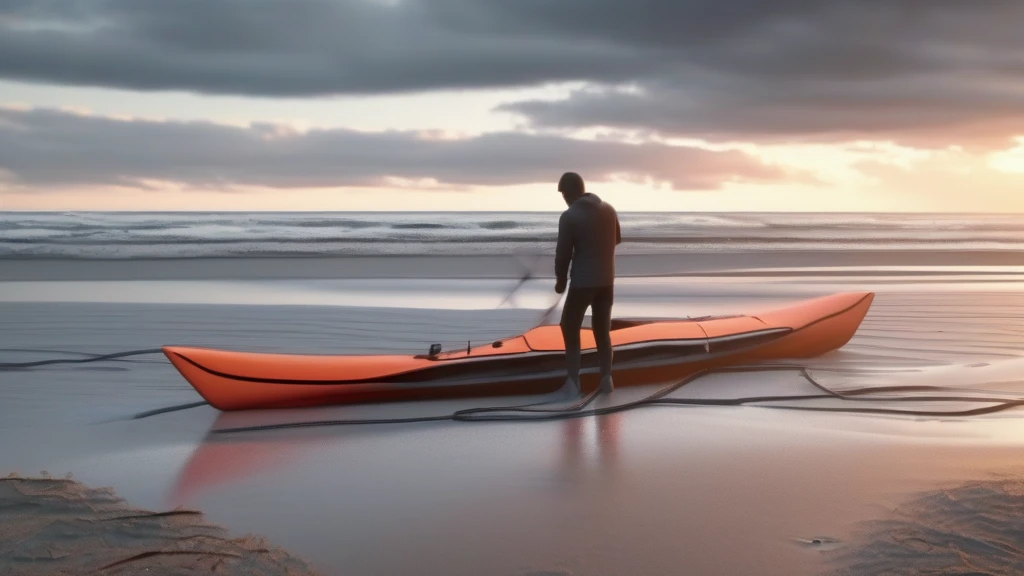
Before diving into the assembly and disassembly, it's helpful to familiarize yourself with the key components common to most folding kayaks:
- Frame: Usually made from marine-grade aluminum, carbon fiber, or lightweight composites, the frame provides the kayak’s structure. It typically comprises multiple interconnected sections that fold or telescope.
- Skin: The outer layer, often made from durable double-wall PVC fabric or thermoplastic composites, forms the hull and deck of the kayak. It’s designed to be waterproof, puncture-resistant, and flexible enough to fold compactly.
- Cockpit and Seats: Removable or adjustable seating systems with backrests, usually attached inside the frame.
- Additional Accessories: These may include skegs or rudders for improved tracking, spray skirts, and carrying bags that double as storage cases.
Knowing these parts beforehand will streamline the assembly and disassembly process and help you identify any issues early on.
How to Quickly Assemble Your Folding Kayak
Step 1: Prepare Your Workspace
Choose a clean, flat surface with enough room to lay out your kayak components. Avoid areas with sharp objects or debris that might damage the fabric skin.
Step 2: Unpack and Organize Components
Remove the kayak skin and frame sections from the storage bag. Lay the skin flat with the interior side up. Arrange the frame pieces in order, grouping them by section (bow, stern, center, sides) to simplify the next steps.
Step 3: Assemble the Frame
Most folding kayak frames are designed with shock-corded poles that snap together easily. Begin by connecting the main keel pieces (the central spine of the kayak), then attach the side ribs and cross braces. Ensure each joint clicks or locks securely, as a rigid frame is critical for stability and performance.
Step 4: Fit the Frame into the Skin
With the frame loosely assembled, slide it inside the kayak skin. Align the bow and stern sections carefully, making sure the frame matches the shape of the skin. Some folding kayaks have color-coded or numbered attachment points to help guide placement.
Step 5: Secure the Skin to the Frame
Once the frame is properly seated, begin fastening the skin to the frame using the provided straps, hooks, or snaps. Work systematically from bow to stern to avoid wrinkles or misalignment. This step tightens the kayak’s hull, ensuring a streamlined shape and watertight integrity.
Step 6: Install the Seats and Accessories
Attach the seats inside the cockpit area, adjusting straps or mounts for comfort and stability. If your kayak includes a skeg or rudder system, install these components as per the manufacturer’s instructions. Don’t forget to add safety accessories like a whistle or spray skirt if you carry them.
Step 7: Final Inspection
Check all connections, straps, and fittings to confirm they are secure. Give the frame a gentle shake to test stability. If everything feels solid, your kayak is ready for launch.
How to Efficiently Disassemble Your Folding Kayak
Step 1: Remove Accessories and Seats
Start by taking off seats, skegs, rudders, and any detachable accessories. Store them safely in your carrying bag or a separate compartment.
Step 2: Loosen the Skin Attachments
Undo the straps, snaps, or hooks holding the skin to the frame. Carefully peel the skin away, taking care not to snag or tear the fabric.
Step 3: Extract the Frame
Gently lift the frame out of the skin. Disconnect the joints by pushing the locking mechanisms or pulling apart the shock-corded poles. Organize the frame pieces neatly for repacking.
Step 4: Fold or Roll the Skin
Lay the skin flat, remove any water or dirt, and allow it to dry if possible. Fold or roll it according to the manufacturer’s guidelines to minimize creases and damage. Proper folding also helps reduce storage space.
Step 5: Pack Everything into the Carry Bag
Place the folded skin and disassembled frame parts into the carrying bag or case. Use included compartments or padding to protect fragile components. Make sure everything fits snugly to avoid shifting during transport.
Tips for Speed and Efficiency
- Practice Makes Perfect: The first few assemblies might take longer, but as you become familiar with your kayak’s layout and parts, the process will become quicker and smoother.
- Keep Components Organized: Using labeled bags or compartments for small parts like screws or buckles prevents loss and confusion.
- Maintain Your Gear: Regularly inspect the frame joints and skin for wear or damage. Clean and dry your kayak thoroughly after each use to prolong its lifespan and ease assembly.
- Use Visual Aids: Taking photos or videos of your assembled kayak can serve as helpful references when assembling in the future.
- Prepare Ahead of Time: If you’re heading out on a trip, unpack and partially assemble your kayak the night before to save time on the water.
Why Quick Assembly and Disassembly Matter
Folding kayaks are prized for their portability, and a quick setup means more time enjoying the water and less time wrestling with gear. Efficient disassembly makes transportation and storage hassle-free, especially for those with limited space or who travel frequently. Mastering these skills ensures your folding kayak remains a trusted companion for spontaneous paddling adventures or planned excursions alike.
Conclusion
Knowing how to quickly and correctly assemble and disassemble your folding kayak is key to maximizing the convenience and enjoyment these innovative watercraft offer. By following the step-by-step tutorial outlined above and maintaining your kayak properly, you can confidently take on a variety of water environments — from serene lakes to challenging rivers — without the stress of complicated setup or teardown. With practice, your folding kayak will become an extension of your outdoor lifestyle, ready to unfold whenever adventure calls.