Fabric patches have become a versatile and creative way to personalize clothing, accessories, and gear. Whether you’re a traveler wanting to customize your backpack, a surfer adding flair to your wetsuit, or a parent helping a child decorate their school items, fabric patches offer a fun and functional solution. With various application methods available—including iron-on, sew-on, and peel-and-stick—understanding how to apply each type properly ensures your patches stay vibrant and secure through everyday wear and outdoor adventures.
This guide walks you through the step-by-step process of applying these popular fabric patches, along with tips on choosing the right patch and maintaining it for long-lasting results.
Understanding Fabric Patches and Their Uses
Fabric patches come in a wide range of materials such as polyester, embroidered textiles, vinyl, and even eco-friendly fabrics. Many patches are designed to withstand the elements, featuring UV resistance, waterproof coatings, and fade-proof finishes—perfect for outdoor enthusiasts and travelers. Additionally, reflective and glow-in-the-dark options enhance safety during low-light activities like evening hikes or night surfing.
Choosing the right patch depends on your intended use, preferred application method, and the material of the item you’re personalizing. Below, we focus on three main types: iron-on, sew-on, and peel-and-stick patches, highlighting their unique benefits and application techniques.
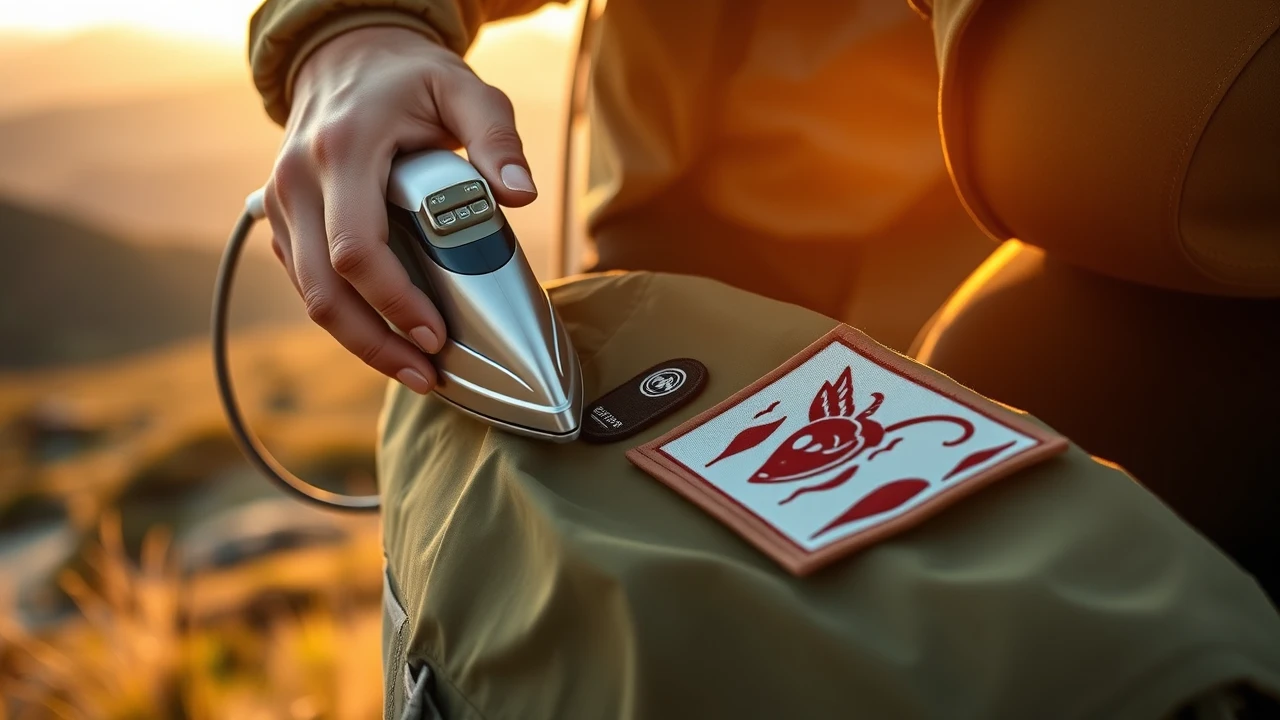
How to Apply Iron-On Fabric Patches
Iron-on patches are popular for their ease and quick application, ideal for those who want a no-sew option with durable adhesion.
Materials Needed
- Iron-on patch
- Iron and ironing board
- Thin cloth or pressing cloth (e.g., cotton handkerchief)
- Garment or item to be patched
Step-by-Step Application
- Prepare the Surface: Lay your garment or accessory flat on the ironing board. Ensure the surface is clean and free of wrinkles.
- Position the Patch: Place the patch adhesive side down on the desired location.
- Cover the Patch: Place a thin cloth over the patch to protect it and the fabric from direct heat.
- Heat the Iron: Set your iron to the cotton or medium-high setting, without steam.
- Press the Patch: Firmly press the iron onto the cloth-covered patch for about 30-45 seconds, applying even pressure. Avoid moving the iron back and forth.
- Check Adhesion: Carefully lift the cloth and gently test if the patch has adhered. If edges lift, repeat the pressing process.
- Let Cool: Allow the patch to cool completely for a secure bond.
Tips for Success
- Avoid ironing over zippers, buttons, or embellishments.
- For thick or heat-sensitive fabrics, use a lower heat setting and longer pressing times.
- Wash the patched item inside out on gentle cycles to prolong adhesion.
How to Apply Sew-On Fabric Patches
Sew-on patches provide the strongest and most permanent attachment, ideal for heavy-use items or fabrics incompatible with heat.
Materials Needed
- Sew-on patch
- Needle and thread (matching the patch border or fabric)
- Scissors
- Pins or fabric glue (optional)
Step-by-Step Application
- Position the Patch: Place the patch on the desired area and secure it with pins or a small dab of fabric glue to prevent shifting.
- Thread the Needle: Use a strong, durable thread suitable for outdoor wear.
- Start Sewing: Begin at one edge of the patch, using a running stitch or whip stitch. Sew through both the patch and the base fabric.
- Sew Around Edges: Continue stitching evenly around the entire perimeter of the patch, keeping stitches close and consistent.
- Secure the Thread: Once complete, tie a secure knot on the inside or backside of the fabric and trim excess thread.
- Inspect: Ensure the patch lies flat and is firmly attached without any loose edges.
Tips for Success
- Use a thimble if hand sewing thick fabrics.
- For heavy-duty gear, consider double stitching for extra durability.
- Machine sewing is an option if you prefer faster application and have compatible equipment.
How to Apply Peel-and-Stick Fabric Patches
Peel-and-stick patches are perfect for temporary customization or for those seeking the easiest and fastest application without heat or sewing.
Materials Needed
- Peel-and-stick patch
- Clean, dry surface
- Optional: clear fabric adhesive spray (for extra hold)
Step-by-Step Application
- Clean the Surface: Wipe down the area where you want to apply the patch, ensuring it’s free of dirt, oils, and moisture.
- Peel the Backing: Carefully remove the protective backing from the patch to expose the adhesive.
- Position and Press: Place the patch adhesive-side down on the desired spot and press firmly from the center outward to eliminate air bubbles.
- Allow to Set: For best results, let the adhesive bond for a few hours before using or washing the item.
Tips for Success
- Best suited for smooth, flat surfaces like backpacks, laptop sleeves, or hats.
- Not ideal for high-friction or stretch fabrics.
- Some peel-and-stick patches can be reinforced later by sewing or ironing if applicable.
Maintaining and Caring for Fabric Patches
Proper care extends the life and appearance of your patches, keeping your personalized items looking fresh and vibrant.
General Maintenance Tips
- Follow washing instructions based on patch type—typically, wash garments inside out on gentle cycles.
- Avoid harsh detergents and bleach that may degrade adhesives or fade colors.
- Air dry patched items when possible to prevent heat damage.
- Inspect patches regularly for loose edges and reapply or reinforce as needed.
Enhancing Durability
- For iron-on patches, occasional re-pressing with an iron can help maintain adhesion.
- Sew-on patches naturally withstand wear better and are easier to repair.
- Store peel-and-stick patches that are unused in a cool, dry place to preserve adhesive quality.
Choosing the Right Patch for Your Needs
When selecting fabric patches, consider the following factors:
- Activity Level: For outdoor adventures like hiking or surfing, durable sew-on or iron-on patches with waterproof and UV-resistant coatings are ideal.
- Fabric Type: Delicate or heat-sensitive fabrics may require peel-and-stick or sew-on patches rather than iron-on.
- Customization Duration: Temporary personalization favors peel-and-stick, while permanent alterations call for iron-on or sew-on.
- Skill Level: Iron-on and peel-and-stick patches are beginner-friendly, whereas sew-on patches require some basic sewing skills.
- Environmental Considerations: Opt for patches made from sustainable materials with non-toxic adhesives and recyclable packaging to minimize environmental impact.
Final Thoughts
Fabric patches are a creative and practical way to express your personality and protect your belongings. Mastering the application techniques for iron-on, sew-on, and peel-and-stick patches empowers you to customize with confidence—whether you’re repairing a favorite jacket, adding a safety feature to your hiking gear, or crafting personalized gifts.
By selecting the right patch type for your project and applying it carefully, you ensure your customization not only looks great but lasts through every adventure. Embrace the versatility of fabric patches and unlock endless possibilities for self-expression and functional style in your everyday life.