There’s nothing quite like the freedom of gliding through the water in your kayak. However, this freedom can quickly be compromised when you notice a crack in your kayak's hull. But don't worry - this doesn’t mean the end for your beloved vessel. With the right hull repair kit, you can bring your kayak back to its prime condition and ensure many more adventures.
In this guide, we’ll cover everything you need to know about repairing cracks in your kayak. We’ll go through the necessary steps, precautions, and we'll highlight some of the best hull repair kits available on the market.
Understanding the Issue: Identifying Cracks and Their Causes
Before diving into repairs, it's important to understand the nature of the cracks you're dealing with. Common causes of cracks include impact with rocks, improper storage, and prolonged exposure to UV rays. Identifying the type and size of the crack will help you determine the appropriate repair method and kit.
Types of Cracks
- Hairline Cracks:
- Stress Cracks:
- Punctures:
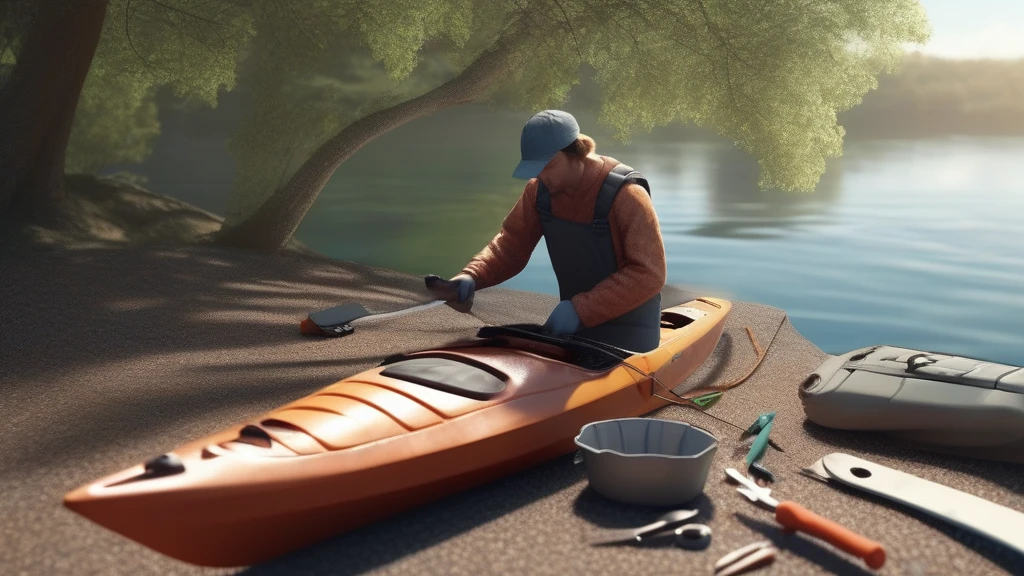
Preparing for Repair: Necessary Tools and Safety
Safety first! Ensure you’re working in a well-ventilated area and wearing protective gear such as gloves and safety glasses. Here are the basic tools you'll need:
- Cleaning Supplies: Eco-friendly cleaner, non-toxic detergent, and a cloth
- Sandpaper: For smoothing out the repair area
- Application Tools: Brushes or applicator sticks
- Protective Gear: Gloves, safety glasses, and a mask
Step-by-Step Guide to Repairing Your Kayak
1. Clean and Dry the Damaged Area
Use your eco-friendly cleaning supplies to remove any dirt, grime, or salt. Ensure the area is completely dry before proceeding.
2. Sand the Area
Lightly sand the area around the crack to create a smooth surface. This helps the repair material to adhere better.
3. Select the Appropriate Repair Kit
Choose a repair kit that matches your crack type and kayak material. Here are some of the best hull repair kits available:
- 3M Marine Adhesive Sealant 5200:
- West System G/flex Epoxy Kit:
- Gear Aid Aquaseal FD Repair Kit:
4. Apply the Repair Material
Follow the instructions provided with your repair kit. Use applicator tools to spread the adhesive evenly. For larger cracks or holes, consider using a fiberglass patch in conjunction with epoxy resin.
5. Allow Proper Curing Time
Curing times vary by product, typically ranging from a few hours to overnight. Ensure you give the repair ample time to fully set and bond.
6. Sand and Finish
Once cured, lightly sand the repair area to smooth any rough edges. For UV protection, consider applying a UV-resistant coating.
Preventative Maintenance Tips
Prevention is always better than repair. Here are some tips to prolong your kayak's life:
- Store Properly:
- Regular Inspections:
- Use Protective Coatings:
With the right repair kit and preventative measures, your kayak can stay in top-notch condition for many years. Happy paddling!